How To Run For President . Constitution (article 2, section 1). Lots of people dream of becoming president of the united states. How to run for president, in 4 easy steps The Washington from www.washingtonpost.com The fourth requirement is that you need to run for office. In the constitution, the rules for future presidents were outlined, including a natural citizenship requirement and an age requirement. Even still, democratic presidential fundraising numbers pulled ahead of republicans starting with obama’s 2008 campaign, a trend which will hold steady if current trends continue in 2020.
How To Make A Border In Cricut Design Space. Drag your text to fill out your shape. Duplicatethe image by pressing ‘duplicate’.
How to make a border in Cricut design space Cut N Make from cutnmakecrafts.com
Then change the colour of the duplicated image by using the colour tab on thetoolbar. On the page layout tab, in the page background group, select page borders. Join my facebook groups also.
Place The Printed Sheet Of Stickers (From Your Printer) Onto The Lightgrip (Light Blue Colored) Cricut Mat.
On the page layout tab, in the page background group, select page borders. Move your shape to the front or back, whichever is easier for you to work with. Drag the corner of your shape layer to make the shape a bit larger to work with.
On The Page Layout Tab, In The Page Background Group, Select Page Borders.
Join my facebook groups also. Although it sounds effortless, there are some things you need to keep in mind like alignment and smoothness. On the text image, click the unlock button so you can drag and alter the text.
Under Line, Choose The Color And Other Options.
Here is a video tutorial on how to create stickers with a white border or offset in cricut design space: The number of copies will depend and it is something you just have to play around with. In the borders and shading dialog box, on the borders tab, choose one of the border options under settings.
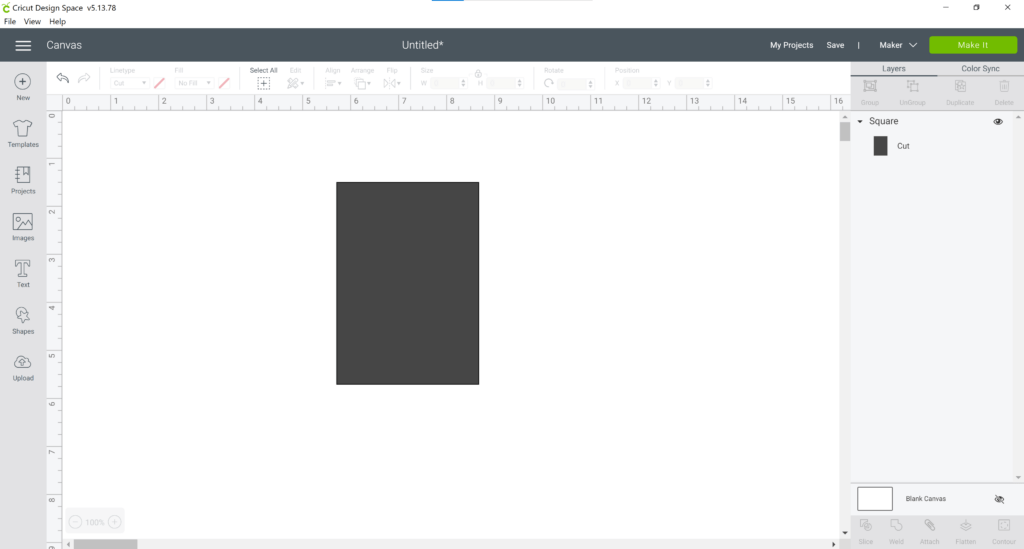
A Square Is Great To Create A Border.
Dec 15, 2021 · select the picture that you want to apply a border to. After many years of asking for this feature cricut has finally released a way for us to make beautiful outlines in cricut design space without having to go to other programs like illustrator and inkscape. Duplicatethe image by pressing ‘duplicate’.
How To Make Banners And Frames In Cricut Design Space.
It is quite a simple process using the slice feature. You should now have your original image at the top and pink image at the bottom. Add a border of any color or width line.


Comments
Post a Comment